Image Sizes, Templates and Editing Guide
Editing images for your website
You may be required to create an image for your website, this could be for a header, a key message or even a news article. We have provided Photoshop templates as well as a basic guide on how to use the templates and edit images for the web.
Image sizes and templates
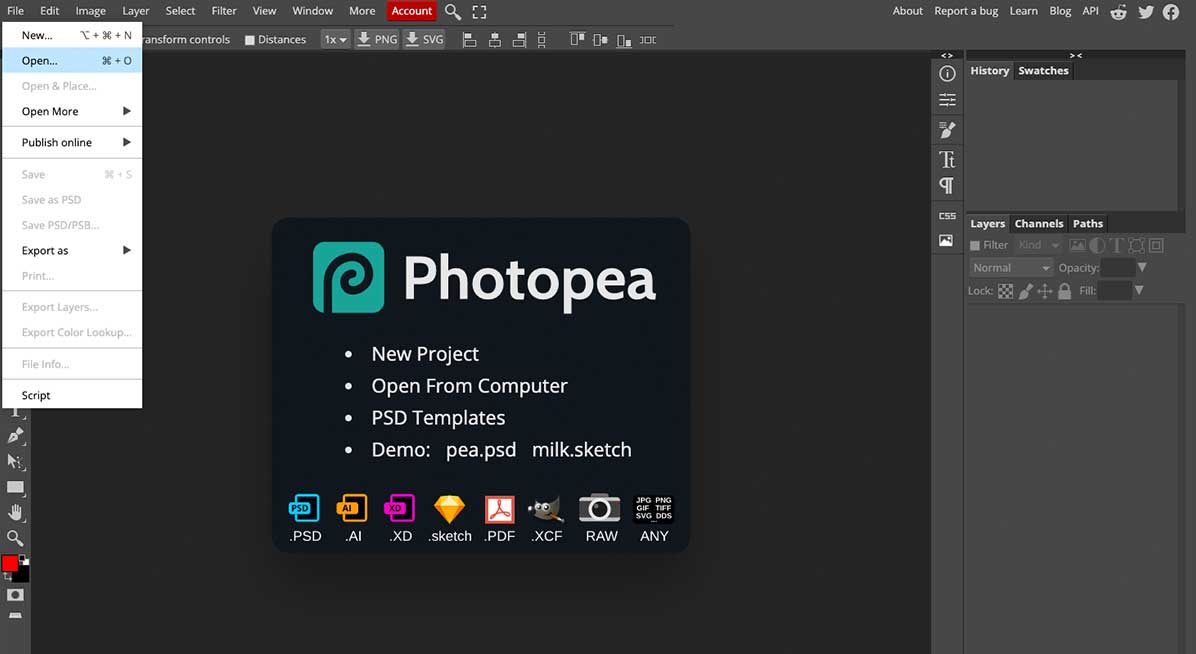
Below you can find our image size guide and links to our Photoshop templates, they may include helpful information or be set at the appropriate size for the chosen image content type. To use a template just select and download it to your computer. You can open and use the template within Photoshop or by using the free online editing tool photopea.com
| Component | Size (pixels) |
|---|---|
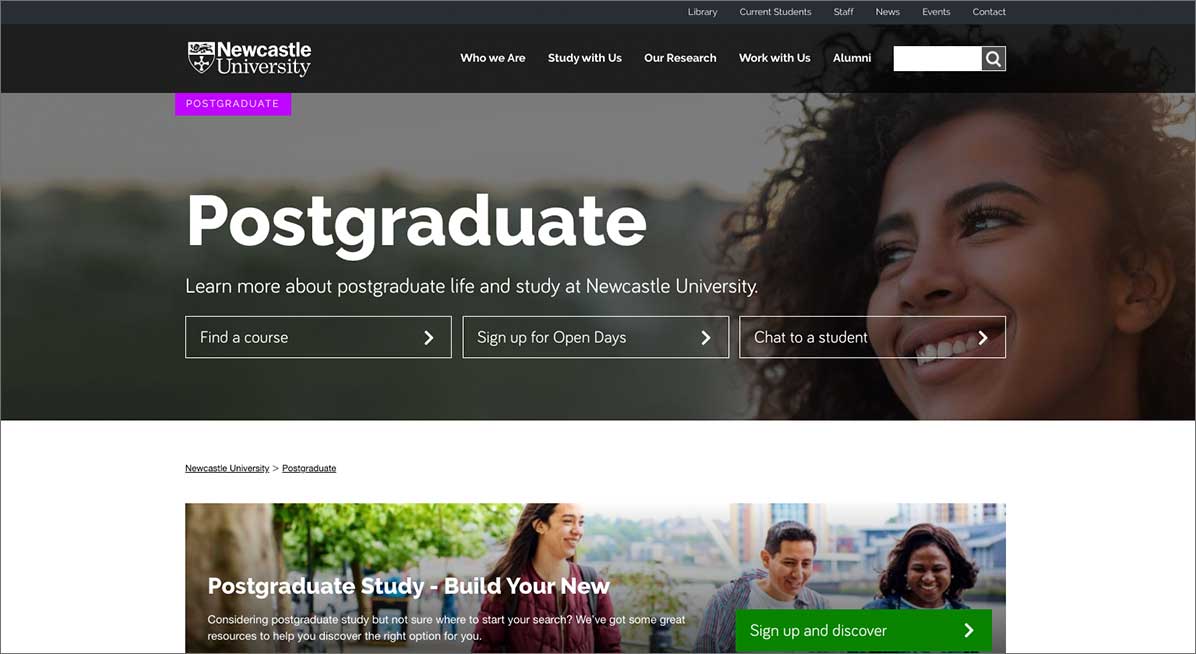
| Header Image | 1800 x 1213 |
| Gradient header |
850 x 417 |
| Ribbon with CTAs | 1920 x 600 |
| Key Messages (3 column) | 818 x 428 |
| News / Event item | 818 x 428 |
| Research Project | 818 x 428 |
| Media Carousel Image | 996 x 560 |
| Media Carousel Image - video overlay | 996 x 560 |
| Single Image | 1196 x 654 |
| Single Video - overlay | 1250 x 655 |
| Masonry Grid | 504 x 336 |
| Logo Carousel | 180 x 83 |
| Full Width Banner - breakout image | 585 x 400 |
| Full Width Banner - background image | 1920 x 600 |
| Promo Banner | 1920 x 600 |
| Dual Column - image - background for non-breakout images | 575 x 355 |
| Dual Column - image | 575 x 355 |
| Dual Column - image - breakout image | 575 x 355 |
| Dual Column - image - video overlay | 575 x 355 |
| Listicle/QA - background image | 1920 x 1440 |
| Listicle/QA - background image - hero image | 1920 x 1440 |
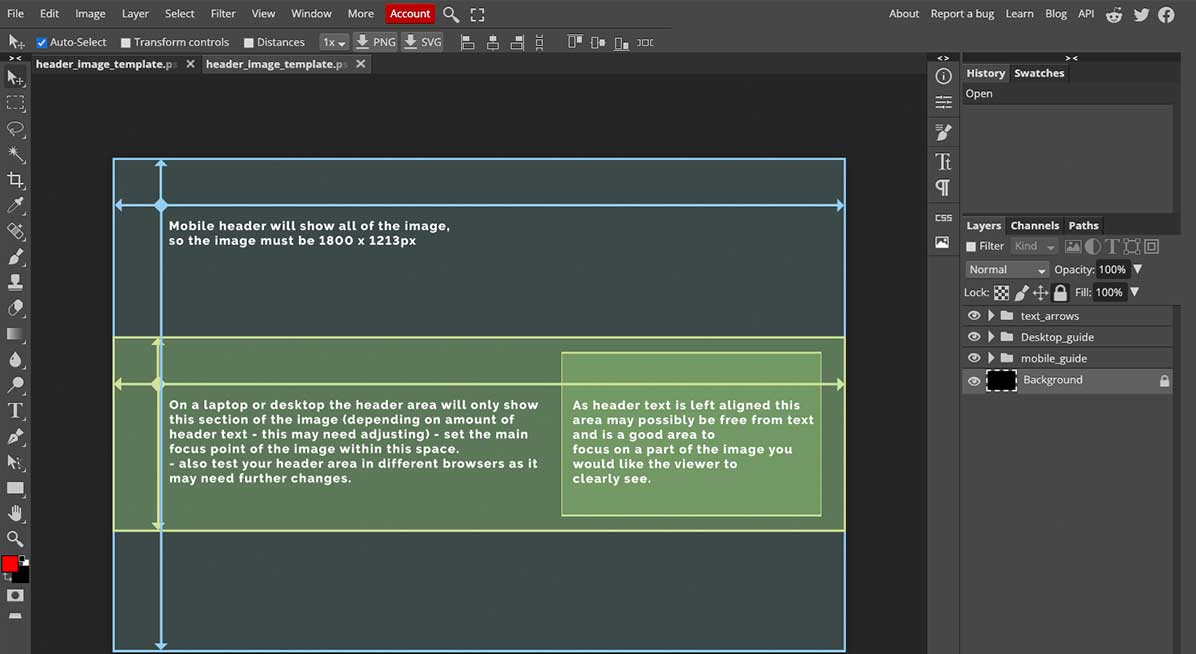
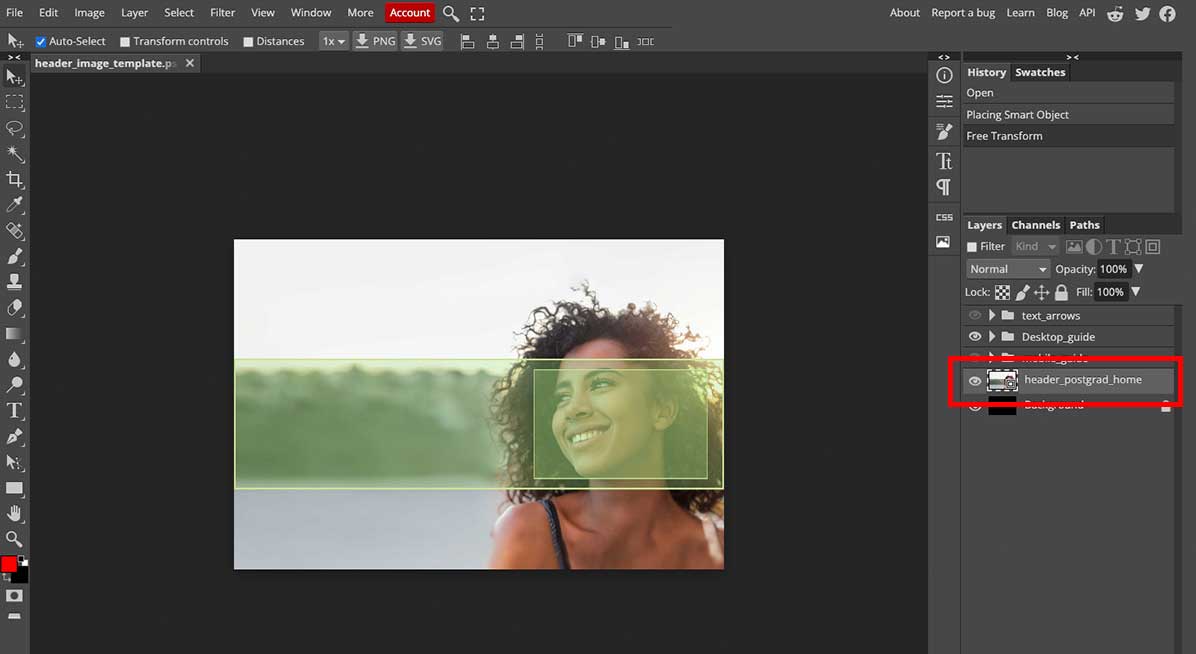
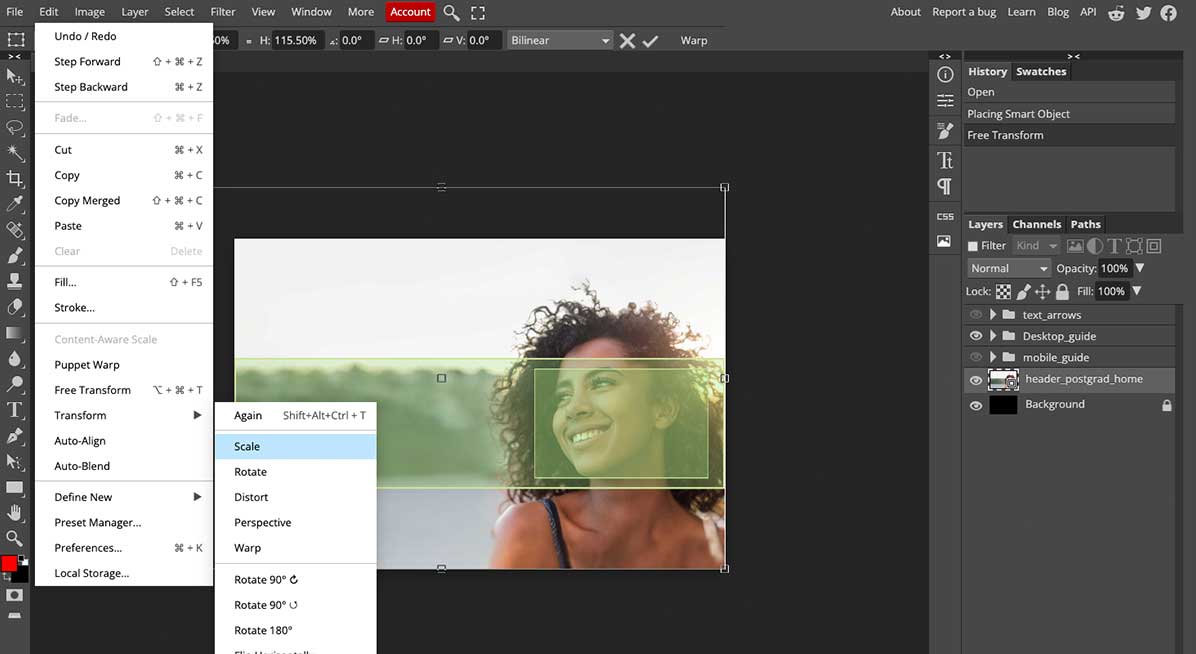
Step 5. To move your image, you can select the move tool which is located at the top of the toolbar to the left of the canvas. If your image is too big you can scale it using the Transformation Scale tool, using the top navigation bar select: Edit / Transform / Scale. The handles allow you to adjust your image.
If you would like to find out more about Photopea’s other tools and techniques there are many tutorials available on youtube.
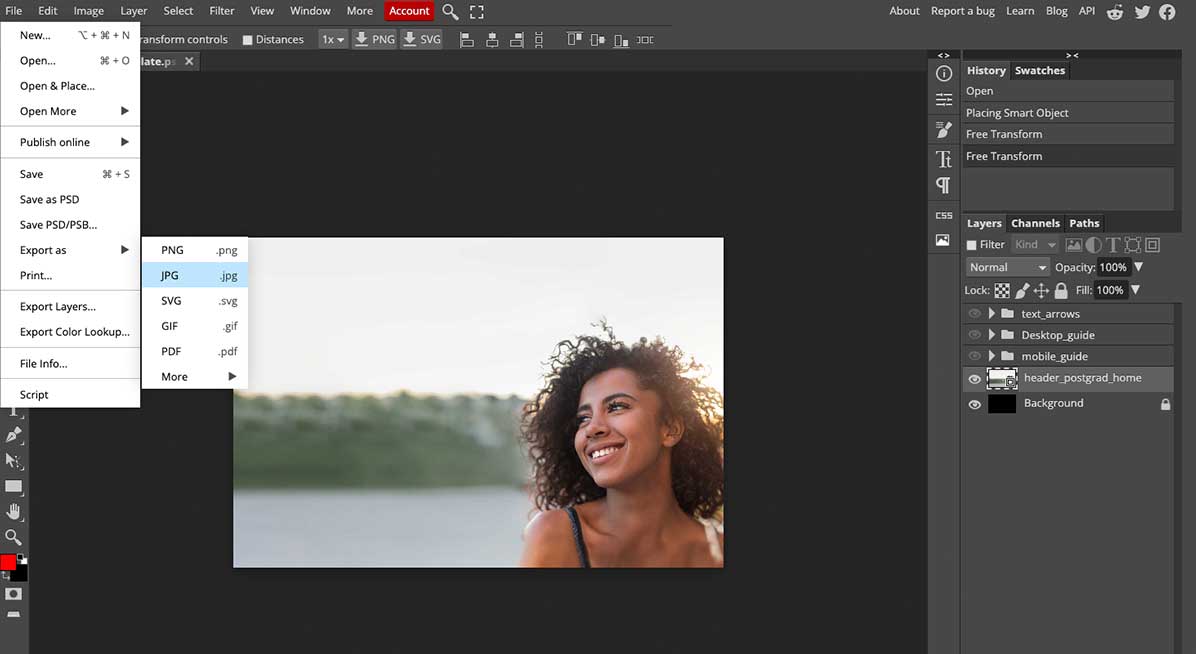
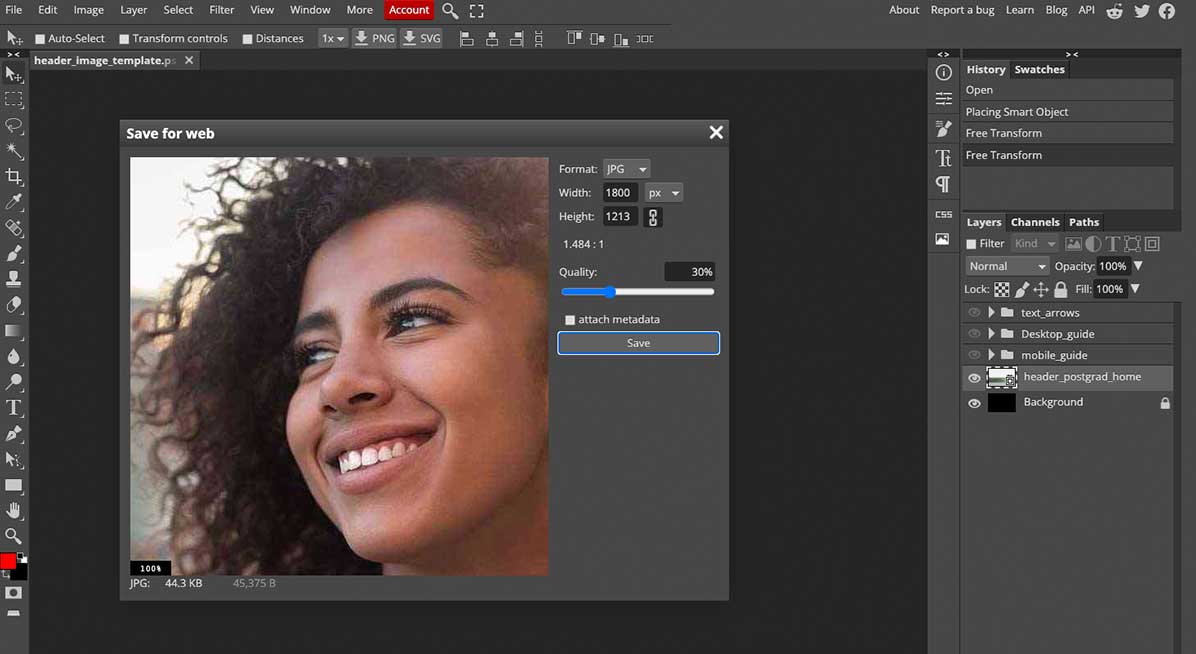
Step 7. By selecting the ‘Export as’ option it allows you to control the file size of the image. By changing the Quality setting to 30% (Our preferred size) the smaller file size will load faster on a webpage. Sometimes 30% may be too low and the image can look pixelated, you may need to increase the Quality setting for a better result.